
TL;DR
- A dental chair needs 4 utilities: 80 psi air, 40-60 psi water, a dedicated 15 A circuit, and a 1.5 inch drain.
- Professional installation takes 4 to 8 hours and costs $500 to $2,000.
- Do the site prep yourself; leave final plumbing and mains wiring to professionals.
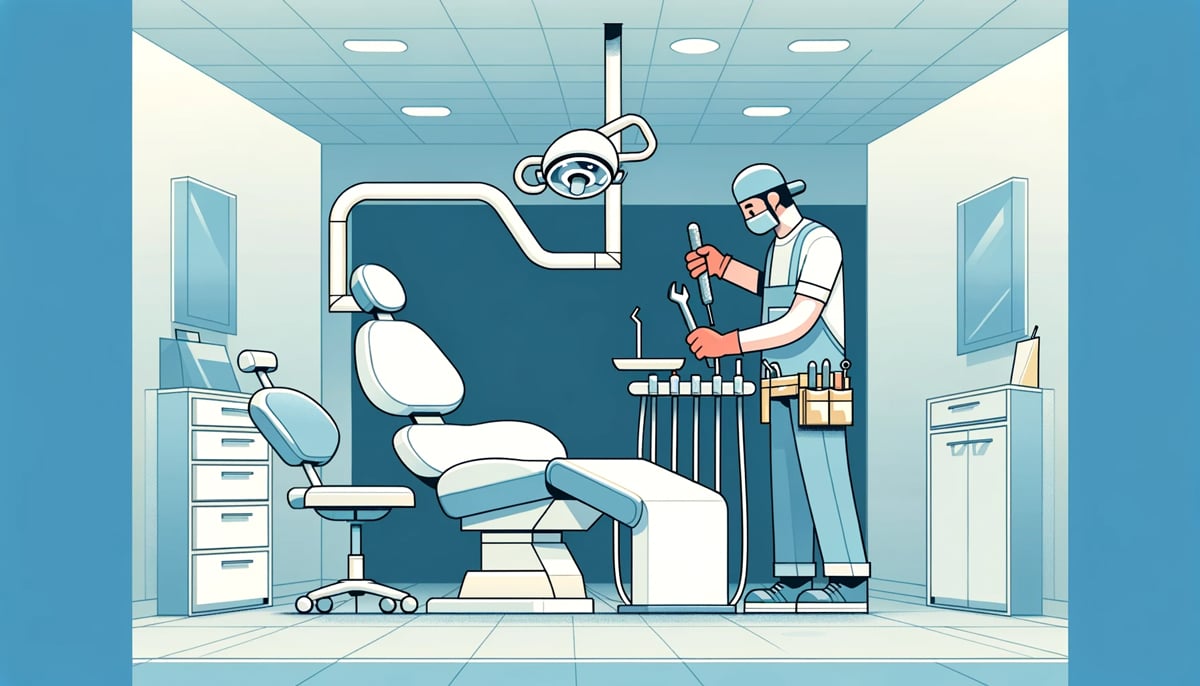
Installing a dental chair takes a professional team 4 to 8 hours and requires four utilities at the chair location: water at roughly 40 to 60 psi, clean dry compressed air at 80 psi, a dedicated 15-amp electrical circuit, and a 1.5-inch sloped drain.
Professional installation typically costs $500 to $2,000 on top of the chair itself.
This guide covers the exact utility specifications, the installation sequence, what you can prepare yourself, and where DIY stops being a good idea.
Disclosure: some links on this page are affiliate links. If you buy through them we may earn a small commission at no extra cost to you.
Dental Chair Utility Requirements
Exact figures vary by manufacturer, so always confirm against your chair’s pre-installation guide.
These are the typical specifications (A-dec, DentalEZ and comparable manufacturers):
| Utility | Typical requirement | Notes |
|---|---|---|
| Compressed air | 80 psi at the unit; compressor cycling 90–100 psi | Must be clean, dry and oil-free; fit a regulator and air dryer |
| Water supply | 40–60 psi, approx. 1.5 gpm flow | Not above 40°C; inline filtration recommended to protect valves |
| Electrical | 110–120 VAC (or 220–240 VAC), dedicated 15 A circuit | A-dec 500 specifies a 15 A mains breaker minimum; never share the circuit |
| Drain | Minimum 1.5 in (40 mm) diameter | Constant downward slope, no traps that can back up |
| Floor | Level, structurally sound mounting area | Chairs weigh 300–500 lb before the patient; anchor bolts per template |
Step 1: Pre-Installation Preparation
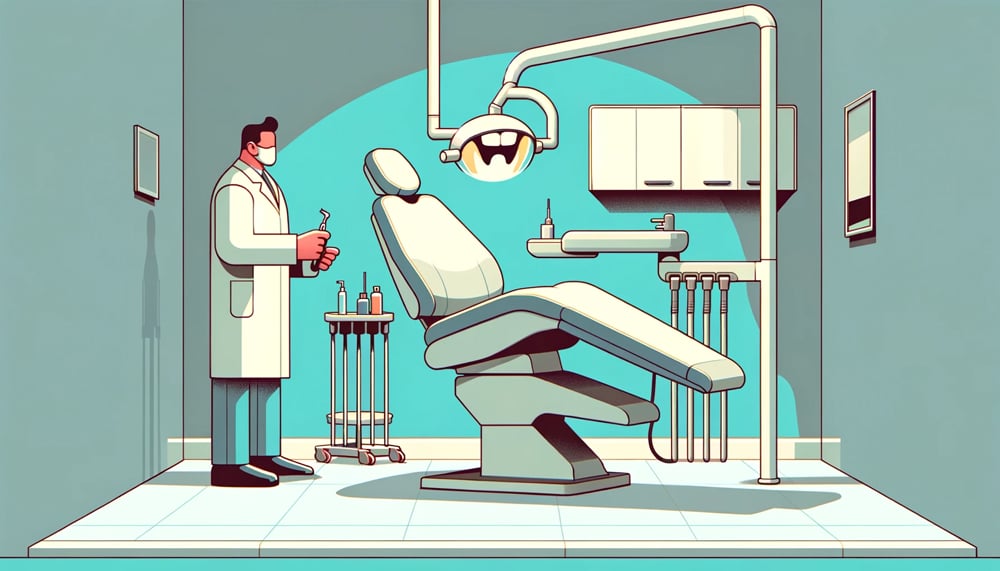
- Get the manufacturer’s pre-installation guide for your exact model and have the utilities stubbed to its template positions before delivery day.
- Confirm the delivery path: chairs ship in crates that may not fit through standard doorways (see our dimensions and space guide), and the assembled base is heavy enough to need two people minimum.
- Plan clearance around the chair for operator positions from 8 to 12 o’clock, plus room for the assistant’s side. A cramped room causes the ergonomic problems we cover in our ergonomic seating guide.
Step 2: Plumbing and Electrical Connections

The junction box (utility center) under or behind the chair is where the water, air, drain and power meet the unit.
The sequence that avoids rework:
- Shut off building water and air; verify zero pressure at the stub-outs.
- Connect water through a shut-off valve and filter, then the air line through its regulator and dryer. Use thread seal tape on every threaded fitting.
- Connect the drain with a continuous downward slope; test with a bucket of water before closing anything up.
- Have a licensed electrician make the final mains connection to the dedicated circuit. In most jurisdictions this is not optional for a commercial premises.
- Pressurize slowly and check every joint for leaks before mounting the chair over the utilities.
Step 3: Mounting, Calibration and Testing
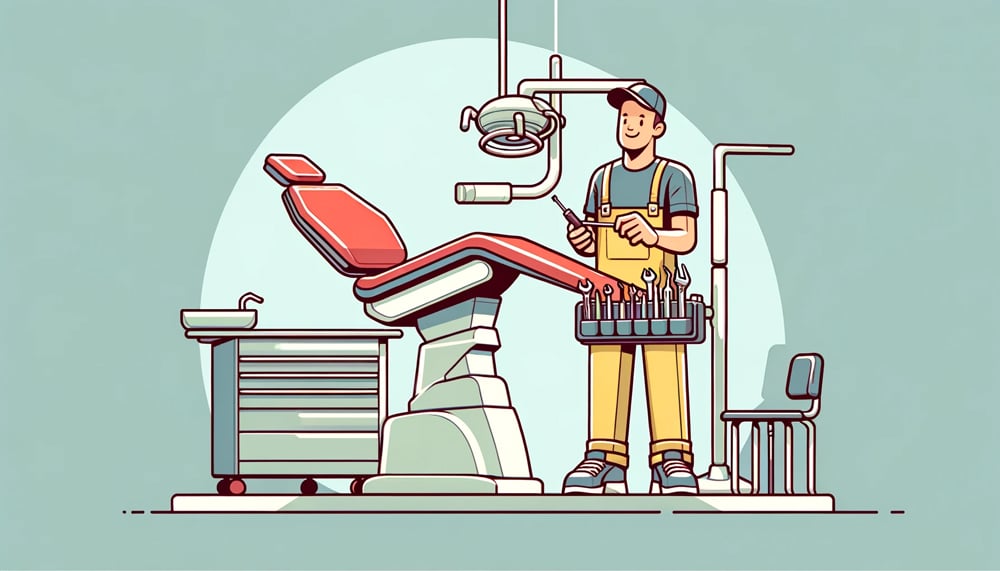
With utilities live: anchor the base to the template marks, mount the back and seat sections, connect the delivery unit and light, then run the full range of motion several times.
Program the preset positions, verify the stop functions, and check that the chair holds position under load.
Confirm the patient weight rating on the serial plate matches your expectations — here is every major brand’s weight limit.
Tools Worth Having On Site
- Thread seal (Teflon) tape and a quality adjustable wrench set for every plumbing joint. Check price on Amazon
- A multimeter to verify the circuit before the chair ever gets plugged in. Check price on Amazon
- An air pressure regulator with dryer if your compressor line does not already have one. Check price on Amazon
DIY or Professional Installation?
Site preparation, uncrating and positioning are reasonable to do in-house.
Final plumbing, the mains electrical connection and calibration are worth paying for: an installation error that leaks into a wall or strains the lift system costs far more than the $500 to $2,000 professional fee, and self-installation can complicate warranty claims.
Factor installation into the total price using our guide to what a dental chair really costs, and set up a maintenance routine from day one.
FAQs
What are the plumbing requirements for a dental chair?
A water supply at roughly 40 to 60 psi with about 1.5 gpm flow, a minimum 1.5-inch drain with constant downward slope, and clean dry compressed air at 80 psi at the unit. Fit a shut-off valve, water filter and air regulator, and confirm exact figures in your model’s pre-installation guide.
How long does it take to install a dental chair?
A professional team typically completes one chair in 4 to 8 hours if the utilities are already stubbed out to the manufacturer’s template. First-time installations with utility work can take several days.
How much does dental chair installation cost?
Professional installation usually runs $500 to $2,000 per chair depending on how much plumbing and electrical work the room needs. Utility rough-in for a new operatory costs extra.
What electrical supply does a dental chair need?
A dedicated circuit, typically 110–120 VAC with a 15 A breaker in North America (220–240 VAC elsewhere). The A-dec 500, for example, specifies a 15 A mains breaker minimum. Never share the circuit with other equipment.
Can I install a dental chair myself?
You can handle site preparation, uncrating and positioning. Final plumbing, mains electrical and calibration should be done by professionals – errors risk water damage, equipment strain and warranty complications.