I have witnessed firsthand the impact a well-installed dental chair can have on both practitioner and patient experience.
Having earned my Bachelor’s and Master’s degrees in Dental Surgery with a specialization in Orthodontics and with extensive experience in dental ergonomics and chair design, I’m here to guide you through the crucial process of installing your new dental chair.
This comprehensive guide for dental chair installation aims to simplify this task, ensuring that your chair not only enhances the efficiency of your practice but also maximizes patient comfort.
Understanding Your Dental Chair
Features and Specifications
Dental chairs are no longer just seats; they’re sophisticated pieces of equipment crucial for providing optimal patient care.
Modern dental chairs come with a variety of features, such as adjustable headrests, reclining capabilities, integrated delivery systems, and even programmable positions.
Understanding these features is vital in ensuring that your chair serves its intended purpose effectively.
For instance, chairs with programmable positions can save time during patient treatment, while those with ergonomic designs reduce physical strain on the dentist.
Pre-Installation Preparation

Space and Tools Required
Before diving into the assembly process, it’s crucial to assess the space where the chair will be situated.
Ensure there’s adequate room for both the chair and accompanying equipment, like X-ray machines and overhead lights.
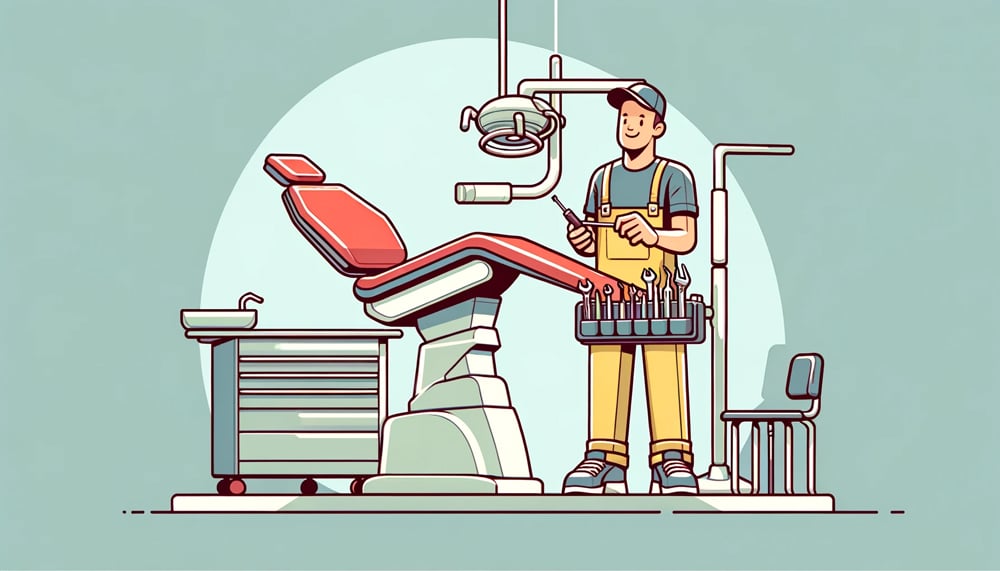
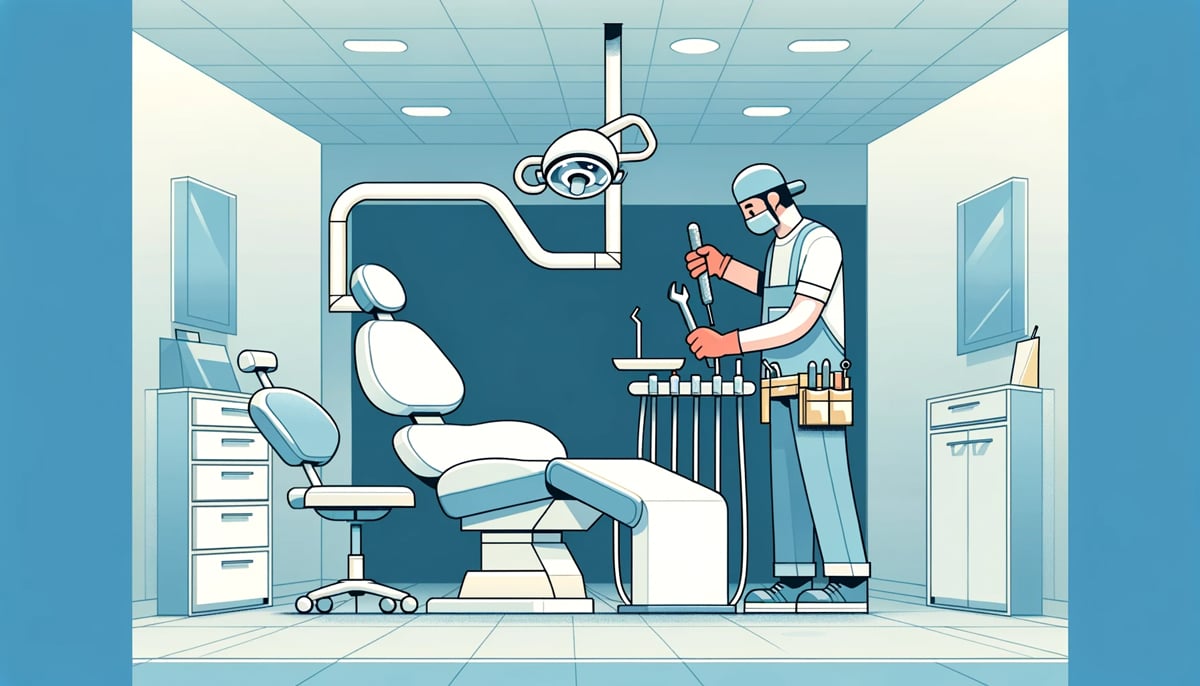
You’ll need basic tools like wrenches, screwdrivers, and possibly a drill. Safety equipment, like gloves and goggles, is also essential to prevent any injuries during installation.
Assembling the Dental Chair
Step-by-Step Assembly Instructions
Now, let’s get to the meat of the process – assembling the chair. Start by attaching the base to the floor, ensuring it’s stable and level. Next, attach the seat to the base, followed by the backrest.
If your chair has armrests or a headrest, these should be attached next. It’s imperative to follow the manufacturer’s instructions closely during this process to avoid any mishaps.
Electrical and Plumbing Connections

Ensuring Proper Functionality
After the physical assembly, it’s time to connect your chair to the necessary electrical and plumbing systems. This step is crucial for the operational functionality of the chair.
Ensure all connections are secure and meet local safety standards. If you’re not confident in making these connections yourself, don’t hesitate to call in a professional.
Calibration and Testing

Safety and Comfort Checks
Once assembled, the chair needs to be calibrated and tested. Check all moving parts for smooth operation and ensure the chair can reach all programmed positions.
Testing all functions, like the spittoon and water sprayer, is also crucial to guarantee patient safety and comfort.
Maintenance Tips
Longevity and Optimal Performance
Regular maintenance is key to the longevity of your dental chair. This includes cleaning all surfaces, checking for loose screws or parts, and ensuring all electrical and plumbing connections remain secure.
Scheduled professional servicing can also help in identifying and rectifying potential issues before they escalate.
Troubleshooting Common Issues
Quick Fixes and When to Seek Professional Help
Even with the best care, issues may arise with your dental chair. Common problems include unresponsive controls or malfunctions in the chair’s movement.
For these, refer to your chair’s troubleshooting guide. However, for more complex issues, especially those related to electrical or plumbing, seeking professional help is advised.
Conclusion
Wrapping Up
Installing a new dental chair can seem daunting, but with this guide, I hope to have simplified the process for you.
Remember, a well-installed and maintained dental chair is not just a piece of equipment; it’s a cornerstone of your practice’s efficiency and patient satisfaction. I welcome any feedback or questions you might have about this process.
FAQs about Dental Chair Installation
-
What tools do I need to install a dental chair?
You’ll need basic tools like wrenches, screwdrivers, a drill, and safety equipment such as gloves and goggles.
-
How do I ensure my dental chair is properly positioned?
Make sure there’s enough room for the chair and accompanying equipment, and the chair base is stable and level.
-
What are the key features to look for in a modern dental chair?
Look for features like adjustable headrests, reclining capabilities, integrated delivery systems, and programmable positions.
-
How often should I maintain my dental chair?
Regular cleaning and checks for loose parts are vital, along with scheduled professional servicing.
-
What should I do if my dental chair starts malfunctioning?
Refer to the troubleshooting guide provided with your chair. For complex issues, especially electrical or plumbing, seek professional help.
-
Can I install a dental chair by myself?
Yes, if you’re comfortable with basic tools and follow the manufacturer’s instructions closely. However, professional assistance is recommended for electrical and plumbing connections.
-
What safety precautions should I take during installation?
Always use safety equipment like gloves and goggles and ensure all connections are secure and meet local safety standards.


