
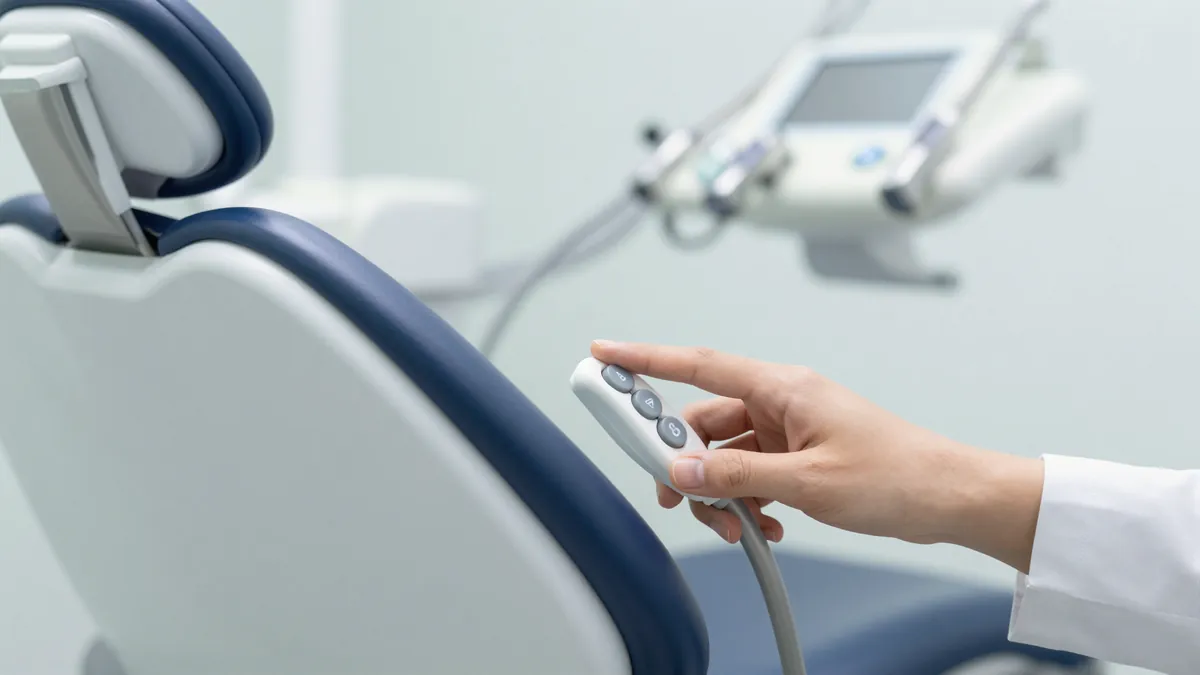
TL;DR
- Set your own stool first: hips above knees, feet flat.
- Then raise the patient until the mouth sits at your relaxed elbow height.
- Tilt the patient’s headrest instead of bending your spine.
- Re-adjust for every patient; it takes ten seconds.
Adjusting the height of the dental chair and your stool correctly is the single cheapest way to prevent the neck and back pain that ends dental careers: the patient’s mouth should sit at your relaxed elbow height while your hips stay above your knees.
Get those two heights right and most posture problems fix themselves.
Get them wrong and no expensive equipment can compensate.
Why Adjusting Chair and Stool Height Matters So Much
Every inch of wrong height gets paid for in posture.
A patient positioned too low makes you bend forward from the spine – the classic hunched-over-the-mouth position.
A patient positioned too high makes you shrug your shoulders and wing your elbows.
Both positions, held for hours across years, are how work-related musculoskeletal pain becomes career-ending.
Height adjustment is a two-part equation – the patient chair AND your own stool.
Most people only ever adjust one of them.
Step 1: Set Your Own Seat First
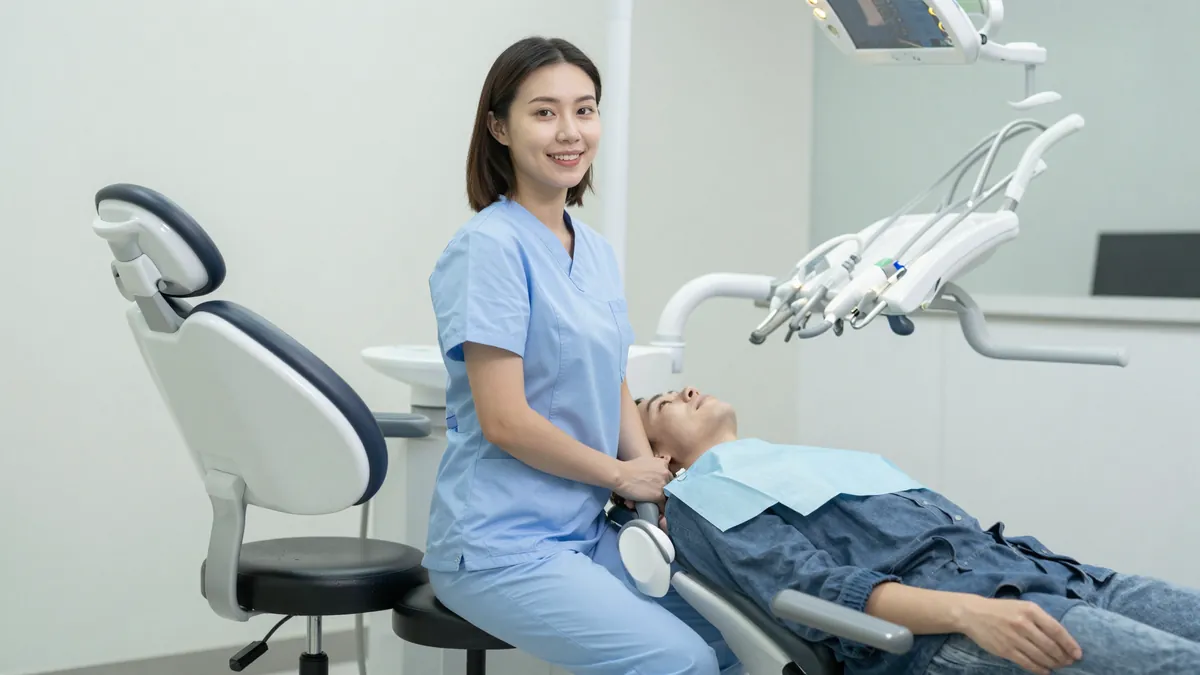
- Sit on your stool and set the height so your hips are clearly above your knees, feet flat, thighs sloping down. On a saddle stool this means a roughly 45-degree thigh slope.
- Relax your shoulders and let your elbows hang at your sides. Note your elbow height – that is your working height.
- Only now touch the patient chair.
Step 2: Bring the Patient to Your Height
- Recline the patient to the position the procedure needs (supine for most upper-arch work, semi-supine for lower-arch work).
- Raise or lower the patient chair until the treatment area sits at your relaxed elbow height – close enough that your forearms stay near horizontal without lifting your shoulders.
- Adjust the headrest, not your spine: tilt the patient’s head for visibility instead of leaning over them. Ask the patient to turn toward or away from you for buccal and lingual access.
Step 3: Check Yourself During Work
- Ears over shoulders over hips – if your head drifts forward, the chair is too low.
- Shoulders relaxed, elbows under 25 degrees of lift – if you are shrugging, the chair is too high.
- Move around the patient (clock positions) rather than twisting your torso from one spot; small operatories make this harder, which is a real reason practices reconfigure rooms.
- Re-adjust for every patient. Ten seconds per appointment is the entire cost of good ergonomics.
Common Adjustment Mistakes
| Mistake | What it causes | Fix |
|---|---|---|
| Setting patient chair first, stool second | You inherit whatever posture is left over | Always set your own seat height first |
| Patient chair too low (most common) | Forward head posture, upper back pain | Raise until the mouth is at relaxed elbow height |
| Never using the headrest tilt | Leaning and twisting to see | Tilt the patient’s head; keep your spine stacked |
| Stool cushion worn flat | Sinking below your set height by mid-day | Replace the stool – see our seating guide |
Related: dental chair weight limits, maintenance checklist (a chair that drifts down mid-procedure has a hydraulic problem, not an adjustment problem), and our full ergonomic seating guide.
FAQs
Why is it important to adjust the height of the dental chair and stool?
Because working height decides your posture: a patient positioned at your relaxed elbow height with your hips above your knees keeps your spine neutral, while a wrong height forces bending or shrugging that accumulates into chronic neck and back pain over a career.
What height should a dental chair be set at?
So the patient’s mouth sits at the seated clinician’s relaxed elbow height. Set your own stool first (hips above knees, feet flat), then bring the patient chair to match – the number on the chair matters less than the relationship between the two.
What is the correct position for a dental patient?
Supine (fully reclined) for most upper-arch work, semi-supine for lower-arch work, with the headrest tilted so the clinician can see without leaning. The patient’s comfort matters, but visibility without spinal twisting is the goal.
How often should I adjust the dental chair?
Every patient, every procedure. Height that was right for a supine crown prep is wrong for an upright consultation; ten seconds of adjustment per appointment is the cheapest ergonomic intervention that exists.